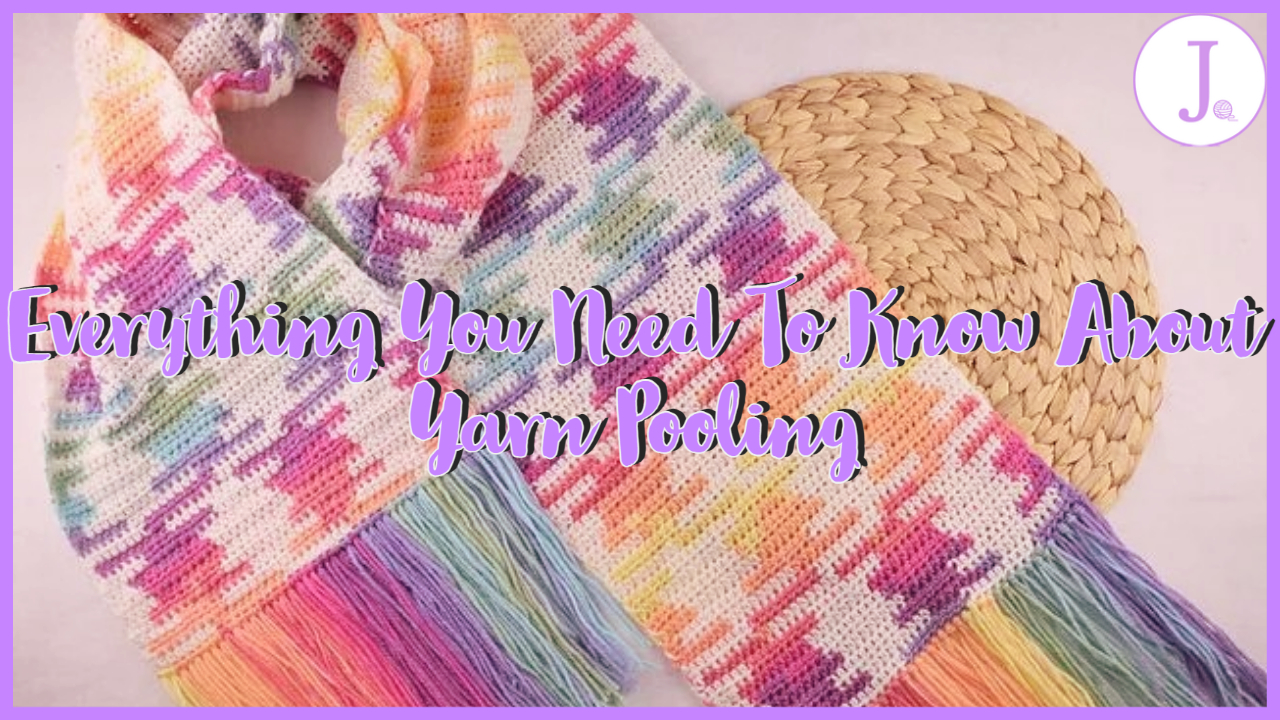
Since I released my video about how to do assigned pooling last year, I have been getting more and more questions from people who are interested in trying it and are wondering how and where to begin. I can see why this sort of project can be intriguing for people who never did it before, and so in order to answer as many questions as possible, I present to you my full guide to yarn pooling!
Now, this will NOT be a guide for how to do it, there are thousands of other articles and videos explaining that out there. No, this guide is to explain what it is, what the different kind of pooling are, what yarns work best for it and what sort of projects can you use it for (spoiler alert! The answer is any project).
So let's begin by answering the most important question first:
What is Yarn Pooling?
To put it simply, pooling (as a crochet method) is a way to control color placement when working with any variegated or color changing yarn in order to create a desired color pattern or motif.
There are many different patterns you can create, depending on the length of each color, the number of colors in the sequence, the length of the sequence itself, the stitches you use, the number of stitches per color, the hook size, the tension and the working method - rows or rounds. Yes, all these variables will effect the final pattern, and all of them can be tweaked to create the exact one you desire. I know, it sounds like a whole lot of variables to consider, but once you get the hang of it, you will be able to create beautiful designs, which look A LOT more complex than they actually are. Believe me, it is a skill worth learning.
Here are just a few examples of patterns you can create when using different pooling methods:
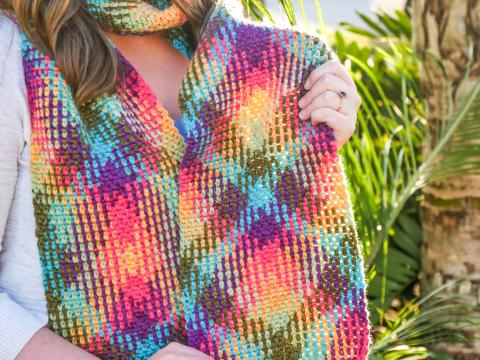
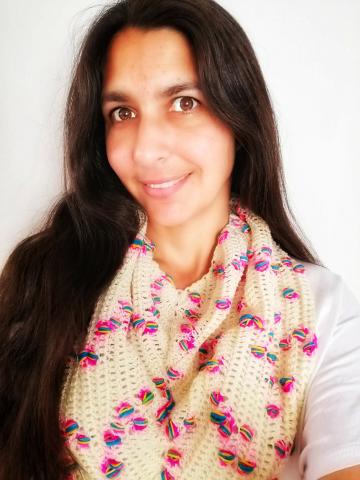
When crocheting with variegated yarn, we sometimes witness pooling which is not intentional, caused naturally by the yarn simply because of the stitch or tension. In these cases the pattern is created randomly, and can either turn out to be a unique blessing or a total nightmare - for example, when creating a sweater and have the yarn pool differently on both sleeves, or when making socks and have them come out looking like they don't match. These cases can be avoided by using either planned or assigned pooling and at certain cases can also be "fixed" using one of the two methods. If, for example, your first sleeve of the sweater caused the yarn to create a certain pattern and you want to other sleeve to turn out the same way, you can use planned pooling to make it so.
In short - by learning how yarn pooling works, you can manipulate it to work up the way you want it to.
Planned Pooling
In essence, planned pooling takes the pooling effect that naturally happens with multicolored yarns and uses smart planning to turn it into a design detail. This technique requires the use of variegated yarn that has a repeating sequence of three or mote colors and can be used to create a variety of different types of patterns including stripes, zigzag, diamonds, checkers and many more.
As the name suggests, "planned pooling" takes a lot of preparations and planning, calculations and close attention. Each time you begin such a project, you will have to carefully swatch, take notes and pay attention to your gauge. The same yarn can be used to create several different design patterns, simply by changing one or more of the variables.
After you did all the calculations and made all your notes, you will only have to mindlessly work your stitches back and forth (or in the round) and the yarn will do the heavy lifting for you. The end effect in a planned pooling project would be a predictable repeating pattern.
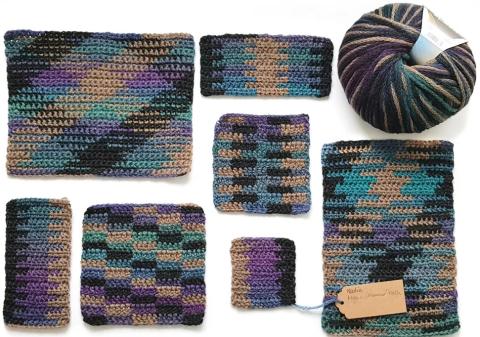
Assigned Pooling
Assigned Pooling occurs when a change in stitch and texture is assigned to changes in color within a skein of variegated yarn. In this method, there is less planning involved, as all you need to decide is what stitch will you make for each different color in the skein of yarn, then simply work that stitch whenever that color appears.
most commonly, the yarns used for this method are ones which have one main color and then a short splash of another color. However, you can use this method with any color changing or multicolored yarn.
This method originated in the knitting world, with using hand dyed yarns, but it is slowly becoming more and more common in the world of crochet as well.
For example, it can be applied to a self striping yarn cake, with changing a stitch every time the color changes to create a blanket or a throw, which is full of textures. It can be a great way to practice your stitch matching skills, and figure out how to put together different stitches in a larger project.
When working this method with hand dyed yarns, the end result will be a random unpredictable pattern, which is very different in the fiber arts world.
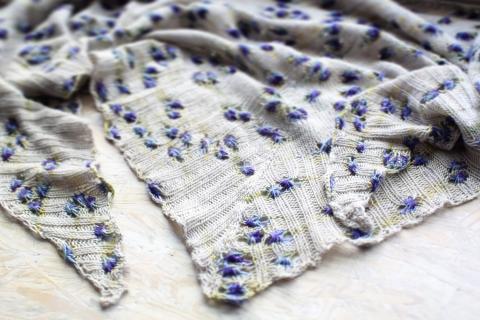
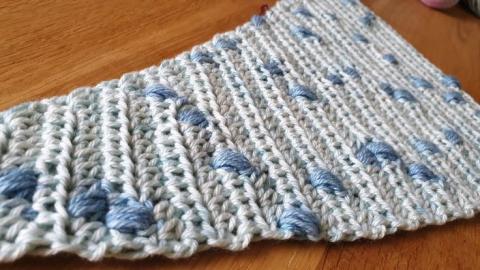
The fun thing about both of these methods is that the possibilities are endless, and you can create many projects using the same yarn which will look different each time. You can use both methods to create pretty much any project from accessories to wearables to decorations and home and kitchen items. Bags and hats made using one of the two pooling methods will be a great edition to style up a simple look, while sweaters and shawl can be the real eye-catcher or head-turner piece in your wardrobe. Home and kitchen items made using pooling techniques are sure to give that special feeling of something made with a lot of love and effort. Here are some great examples:
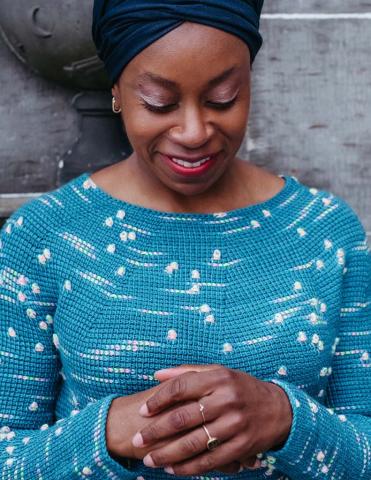
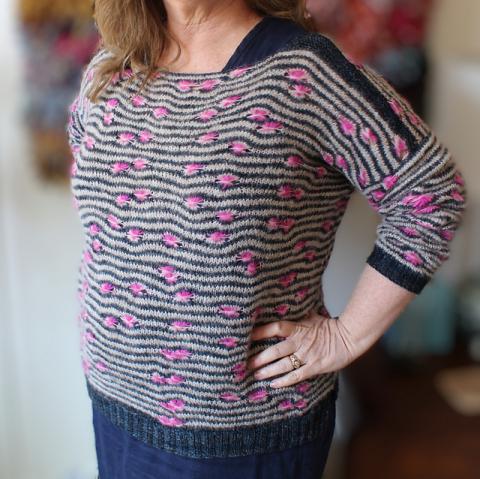
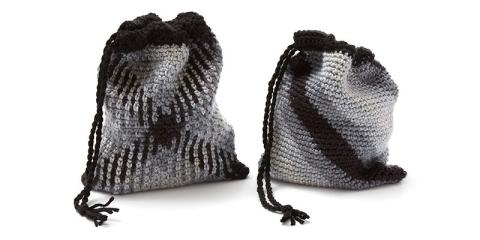
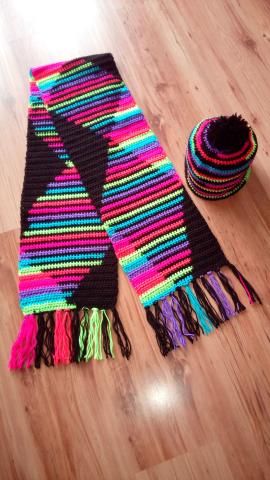
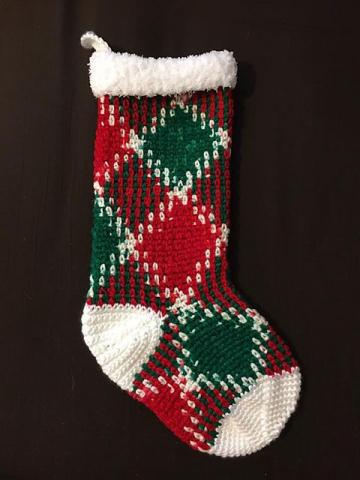
If you never tried any of these methods before, I suggest you begin with the very basic patterns, then advance to creating and designing your own once you feel confident enough. There are plenty of blog posts and video tutorials out there about how to do each on of them. Here are my personal recommendations for beginners:
Planned pooling - The best tutorial by Marly Bird can be found here, and some great written instructions can be found on Interweave here.
Assigned Pooling - An introduction to assign pooling in crochet can be found here, and a tutorial for a simple assigned pooling shawl can be found here.
If you have ventured into planned or assigned pooling (or both) following this Yarniversity, share your pictures on my Facebook Group or tag my on Instagram @crochetjhook.

