Image

Happy New Crafting Year Everyone!
I am thrilled to be the one kicking off this year's Crochet Foundry Blog Hop! It is always a bit scary to be the first of anything, but this time I am the first in a long list of talented designers taking part in this wonderful project, which makes me happy and excited.
I decided to design this easy, one-ball-wander (see what I did there?) case, which can be used to store and protect your cellular device, tablet or laptop, or, if you so wish, be used as a notion pouch for your crochet accessories.
Image
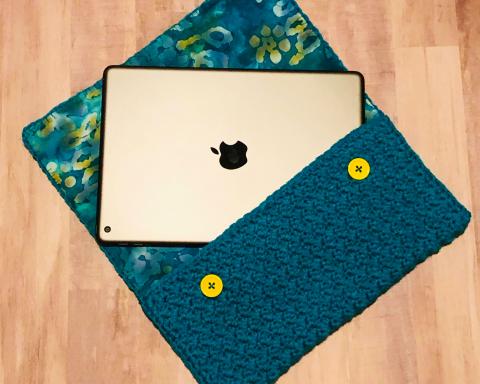
Cellular Device Case With Lining
Materials:
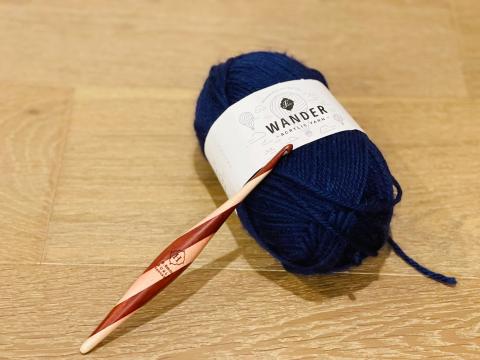
* 100g of Furls Wander Acrylic Yarn
* Size 5mm Furls Crochet hook
* Scissors
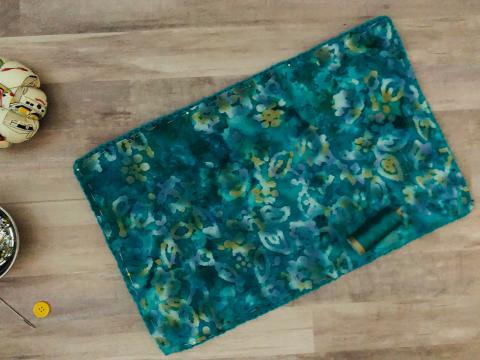
* A piece of 100% cotton fabric for lining
* 2 medium size buttons (or as many as you want)
* Some thread to sew the buttons and lining
* sewing pins
Image
Abbreviations:
ch – chain
st – stitch
sk – skip
sc – single crochet
dc – double crochet
(…) - these stitches are worked into the same stitch/space
Notes:
- Chain stitches at the beginning of rows do not count as stitches, the first stitch of a row is always made in to the last stitch from previous row.
Pattern:
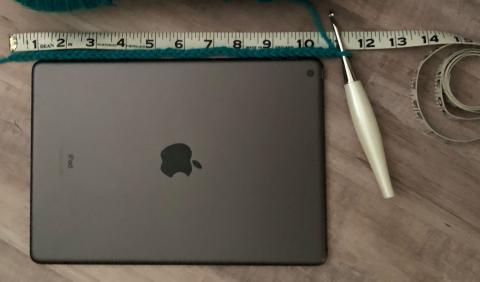
Begin by chaining an uneven number of stitches – your chain should be slightly longer than the device you are making the case for (this can be your cellphone, laptop, tablet etc.).
Image
Row 1: Dc in 2nd ch from the hook, * sk1, (sc, dc) in next st, repeat from * until the end of the row, in the very last st work only one sc, turn
Row2: Ch1, dc in first st, * sk1, (sc, dc) in next st, repeat from * until the end of the row, in the very last st work only one sc, turn.
Repeat row 2 until your work measures 2.5cm (1 inch). Then work the button holes row.
Button holes row: ch1, dc in first st, * sk1, (sc, dc) in next st, repeat from * until the place your first button hole should be (the last stitch you made should be a dc), ch 2, sk3, (sc, dc) in next st, then continue with repeating the pattern from * until the place where your next button hole should be and work in the same way as you did the first one. After the last button hole is made, continue in pattern until the end of the row, in the very last st work only one sc, turn.
Now, continue with repeating row 2. When you get to the ch stitches, treat them as if they were regular stitches and just continue in pattern.
Work repeats of row 2 until your work is large enough to wrap around your device and overlaps enough to fasten with buttons. Your work should now be a rectangular shape.
Image
Work one round of sc around your entire rectangle, putting one sc in each st along your working rows, 3sc in each corner and evenly spacing sc along the sides of your rows.
Fasten off and weave in your tails, then continue to lining.
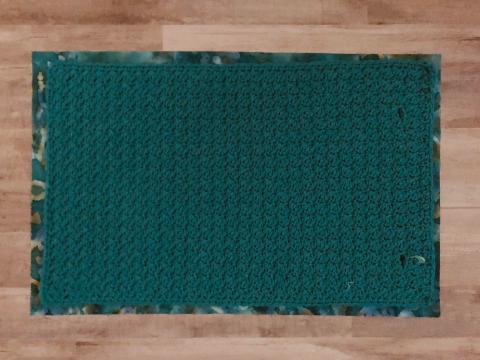
Lining:
Cut a piece of fabric to be just slightly larger than your piece of crochet. Create a hem all the way around by folding under the edges and pinning it to the crochet piece. The wrong side of your crochet piece and the wrong side of the fabric should be facing each other, while the right side of the fabric and right side of crochet piece are facing outwards. Using thread and needle, sew your lining to your crochet piece.
Make sure you cut holes where the button holes should be and nicely sew the lining around the holes as well.
Image
Finishing:
Fold up the end opposite of the holes and sew down each edge to create a pocket for your device. Then, put the device in the case and close the flap to see where the buttons should be.
Finally, sew on the buttons in the correct place.
Image
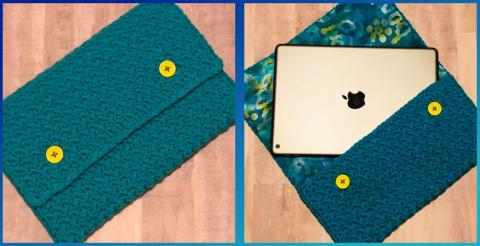
Ta da! You have completed the Wander Cellular Device Case! I do hope you have enjoyed making it.
If you have any difficulties or questions while working on this project, feel free to contact me by Emailing: crochetjhook@gmail.com
I Invite you to visit my YouTube channel for a lot more crochet content, as well as my Etsy Shop for more of my crochet designs. If you make any of the patterns, feel free to tag me @crochetjhook and use #jhookcrochet I would love to see your finished makes!