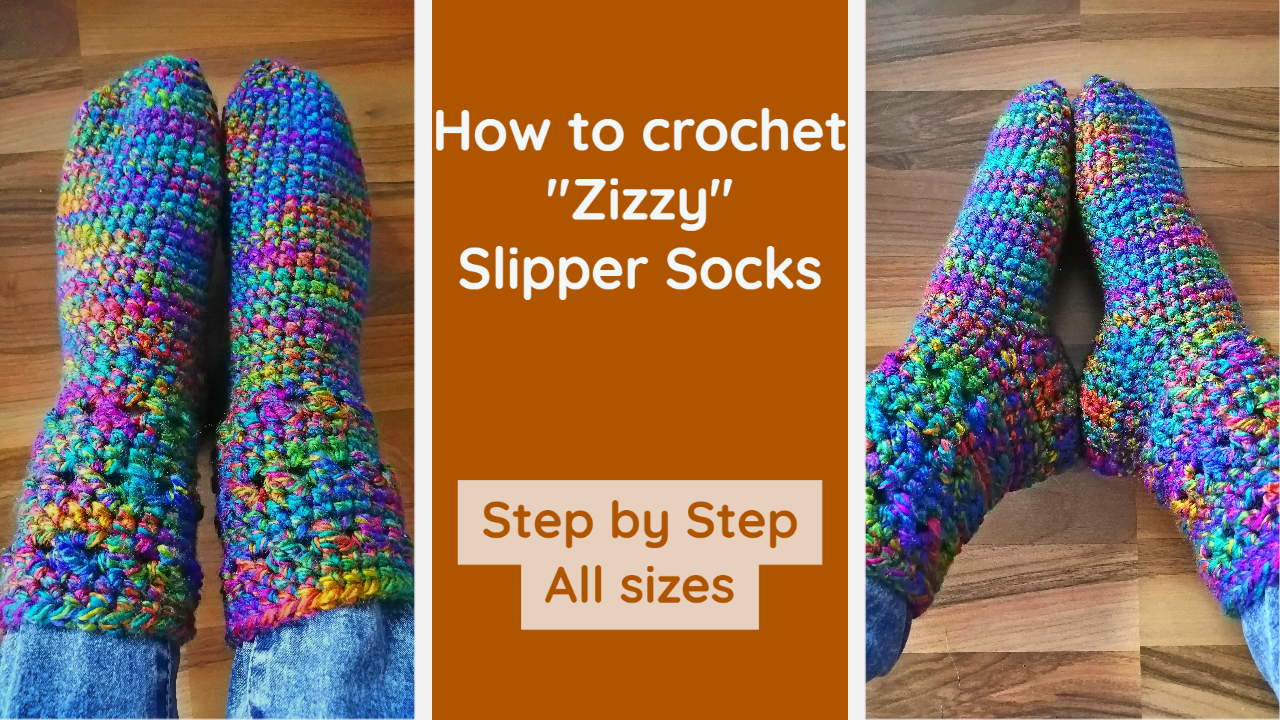
Looking for a quick and easy pattern for crochet slippers? Look no further!
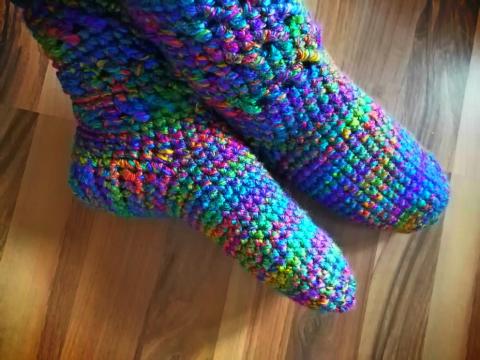
The Zizzy Slipper Socks pattern uses basic stitches and is very beginner-friendly. There's even a video tutorial, so you can follow along with the written pattern and make sure you understand every step.
This pattern was originally designed by me for the ICE Yarns designer program. However, I have since then decided to leave the program, which leaves me free to publish it here on my own blog.
The yarn it was originally designed for has been sadly discontinued, but I made sure to post links to similar yarns and some yarn recommendations for you, so that you can easily substitute it. The video down below also mentions the original yarn, but the pattern would work just the same with any of the substitutions.
Zizzy Slipper Socks
Materials:
* 200g or more (depending on how long you want the socks to be) of a bulky 5 type yarn.
Original Yarn Used: ICE yarns “Galaxy” or Lion Brand “Boing!”.
Possible substitutions can be found here.
* Size 7 or 8 mm crochet hook - whichever you feel more comfortable using with the yarn you chose.
* Stitch marker
* Darning needle
* Scissors
Abbreviations:
ch – chain
sc – single crochet
scinc – singe crochet increase (work the number of stitches stated all into the same stitch)
pm - place marker
slst – slip stitch
sk – skip
dc – double crochet
Toe:
Ch6
Row 1: 2sc in 2nd chain from the hook, sc3, 3scinc, turn your work 180° and continue working into the chain, sc3, sc in last stitch.
Row 2: You will be working in continuous rounds without chaining up or slip stitching. In this row, you will place a marker to mark the beginning of your row, and continue moving the marker as you work your rows to keep track.
Sc, pm in the stitch you just made, 3scinc, sc3, 3scinc, sc, 3scinc, sc3, 3scinc. (20)
Row 3: Sc2, 3scinc, sc5, 3scinc, sc3, 3scinc, sc5, 3scinc, sc (28)
Row 4: Sc in every stitch around (28)
Foot:
Continue working in rounds putting one sc in each stitch until your work is long enough to cover your foot from your toes to the end of the arch and beginning of the heel.
*At this point you might want to write down how many rows you worked, so you can work the same amount on the 2nd sock.
Heel:
First, lay your work flat. In order to have the heel lined up correctly with the tip of the slipper, you want to make sure the beginning of the first row of the heel is exactly at the edge of the side when the work is laid flat. If your stitch marker is not in the right place, work a few more sc until you are at the right place.
The heel will be worked on rows going back and forth. Ch1 at the beginning of each row doesn't count as a stitch.
Row 1: work 1 sc in each stitch for the next 15 stitches, ch1, turn.
Repeat row 1 until the heel part is long enough to cover from the end of the arch to the back of the heel.
Once the heel is the size you want it to be, do not chain and turn at the end of your row, fold the heel part in half and join to the beginning of the last row you just made with a slst. Leave the back of the heel open, you will sew it together at the end. Now continue to make the leg.
Leg:
Row 1: work along the sides of the rows which make the heel - 1sc in each row, 1sc in each of the next 13 stitches, 1sc in each row. Slst into to first sc of the row to close your work into a circle again.
Row 2: ch1, 1sc into the same stitch, 3sc, scinc, (4sc, scinc) until the end of the row, if you have a few extra stitches, just sc in each one, slst to first sc of the row (make sure to slst into the SC and not into the ch1).
Row 3-5: ch1, 1sc in each stitch, slst (3 rows)
Row 6: ch1 (does not count as a stitch), (sk1, 1dc, 1dc back into the skipped st) to end of row, slst into first dc. If you have one stitch extra at the end of the row, just skip it.
Row 7-8: ch1, sc in each stitch, slst to first sc (2 rows)
Repeat rows 6-8 for the length you want the leg to be.
Cut your yarn, fasten off and weave in your ends.
Turn the sock inside out, sew together the open part of the heel and weave in the tail.
Make the 2nd sock exactly the same way